Use individual charcuterie boards as party appetizers, a fun at-home lunch or a packable spread for a picnic. Find out how to put them together with this helpful guide!

How to Make Individual Charcuterie Boards for Any Occasion

If you’re hosting a party, a charcuterie board decked out with plenty of meats, cheeses and accouterments will always be a hit. But if you’d prefer an option that’s more personal, don’t worry. You can still have charcuterie!
Individual charcuterie boards are such a clever way to turn the concept of large boards on its head. You can put together the same individual boards for guests, or even mix and match to include everyone’s favorite snacks, and they will serve as the cutest way to dress up your table for a gathering.
But they’re not only ideal for parties. You can use the same concept to build just one board for a personal lunch or pack two for a picnic. The best part? You can put them together in minutes, with our ideas for cheese board pairings.
Psst! Skip the prep completely and get yourself a charcuterie box instead!
How to Make Individual Charcuterie Boards
What to Include on Each Board
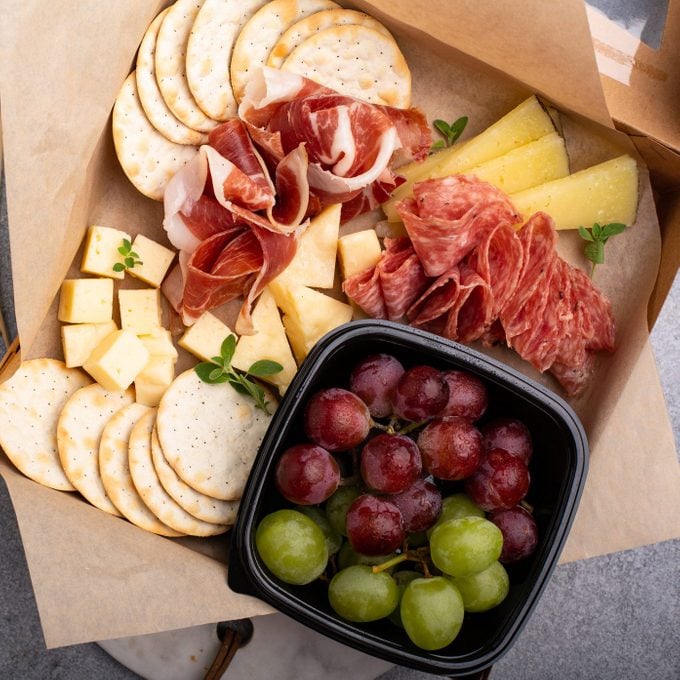
Cheese: For many, this is the star of the show. Consider a variety of soft, semi-soft and hard cheeses. Sharp cheddar, Gouda and Manchego cut into cubes and small wedges of brie are great options.
Meat: Incorporate charcuterie meats such as salami, prosciutto, pepperoni, summer sausage and sopressata to complement your cheeses.
Crackers: You need something to pair with the cheese! Choose round multi-grain crackers, flatbread crackers or even sliced baguette pieces. Have extra time? Make your own Thyme-Sea Salt Crackers.
Fruits and Veggies: Bring life to your board with carrot and celery sticks. Incorporate fresh berries for a pop of color, along with grapes, wedges of citrus fruit and even dried fruit such as apricots or cranberries.
Other Additions: Fill in gaps with items like nuts, pieces of chocolate and olives.
How to Build Individual Charcuterie Boards

Step 1: Choose a base
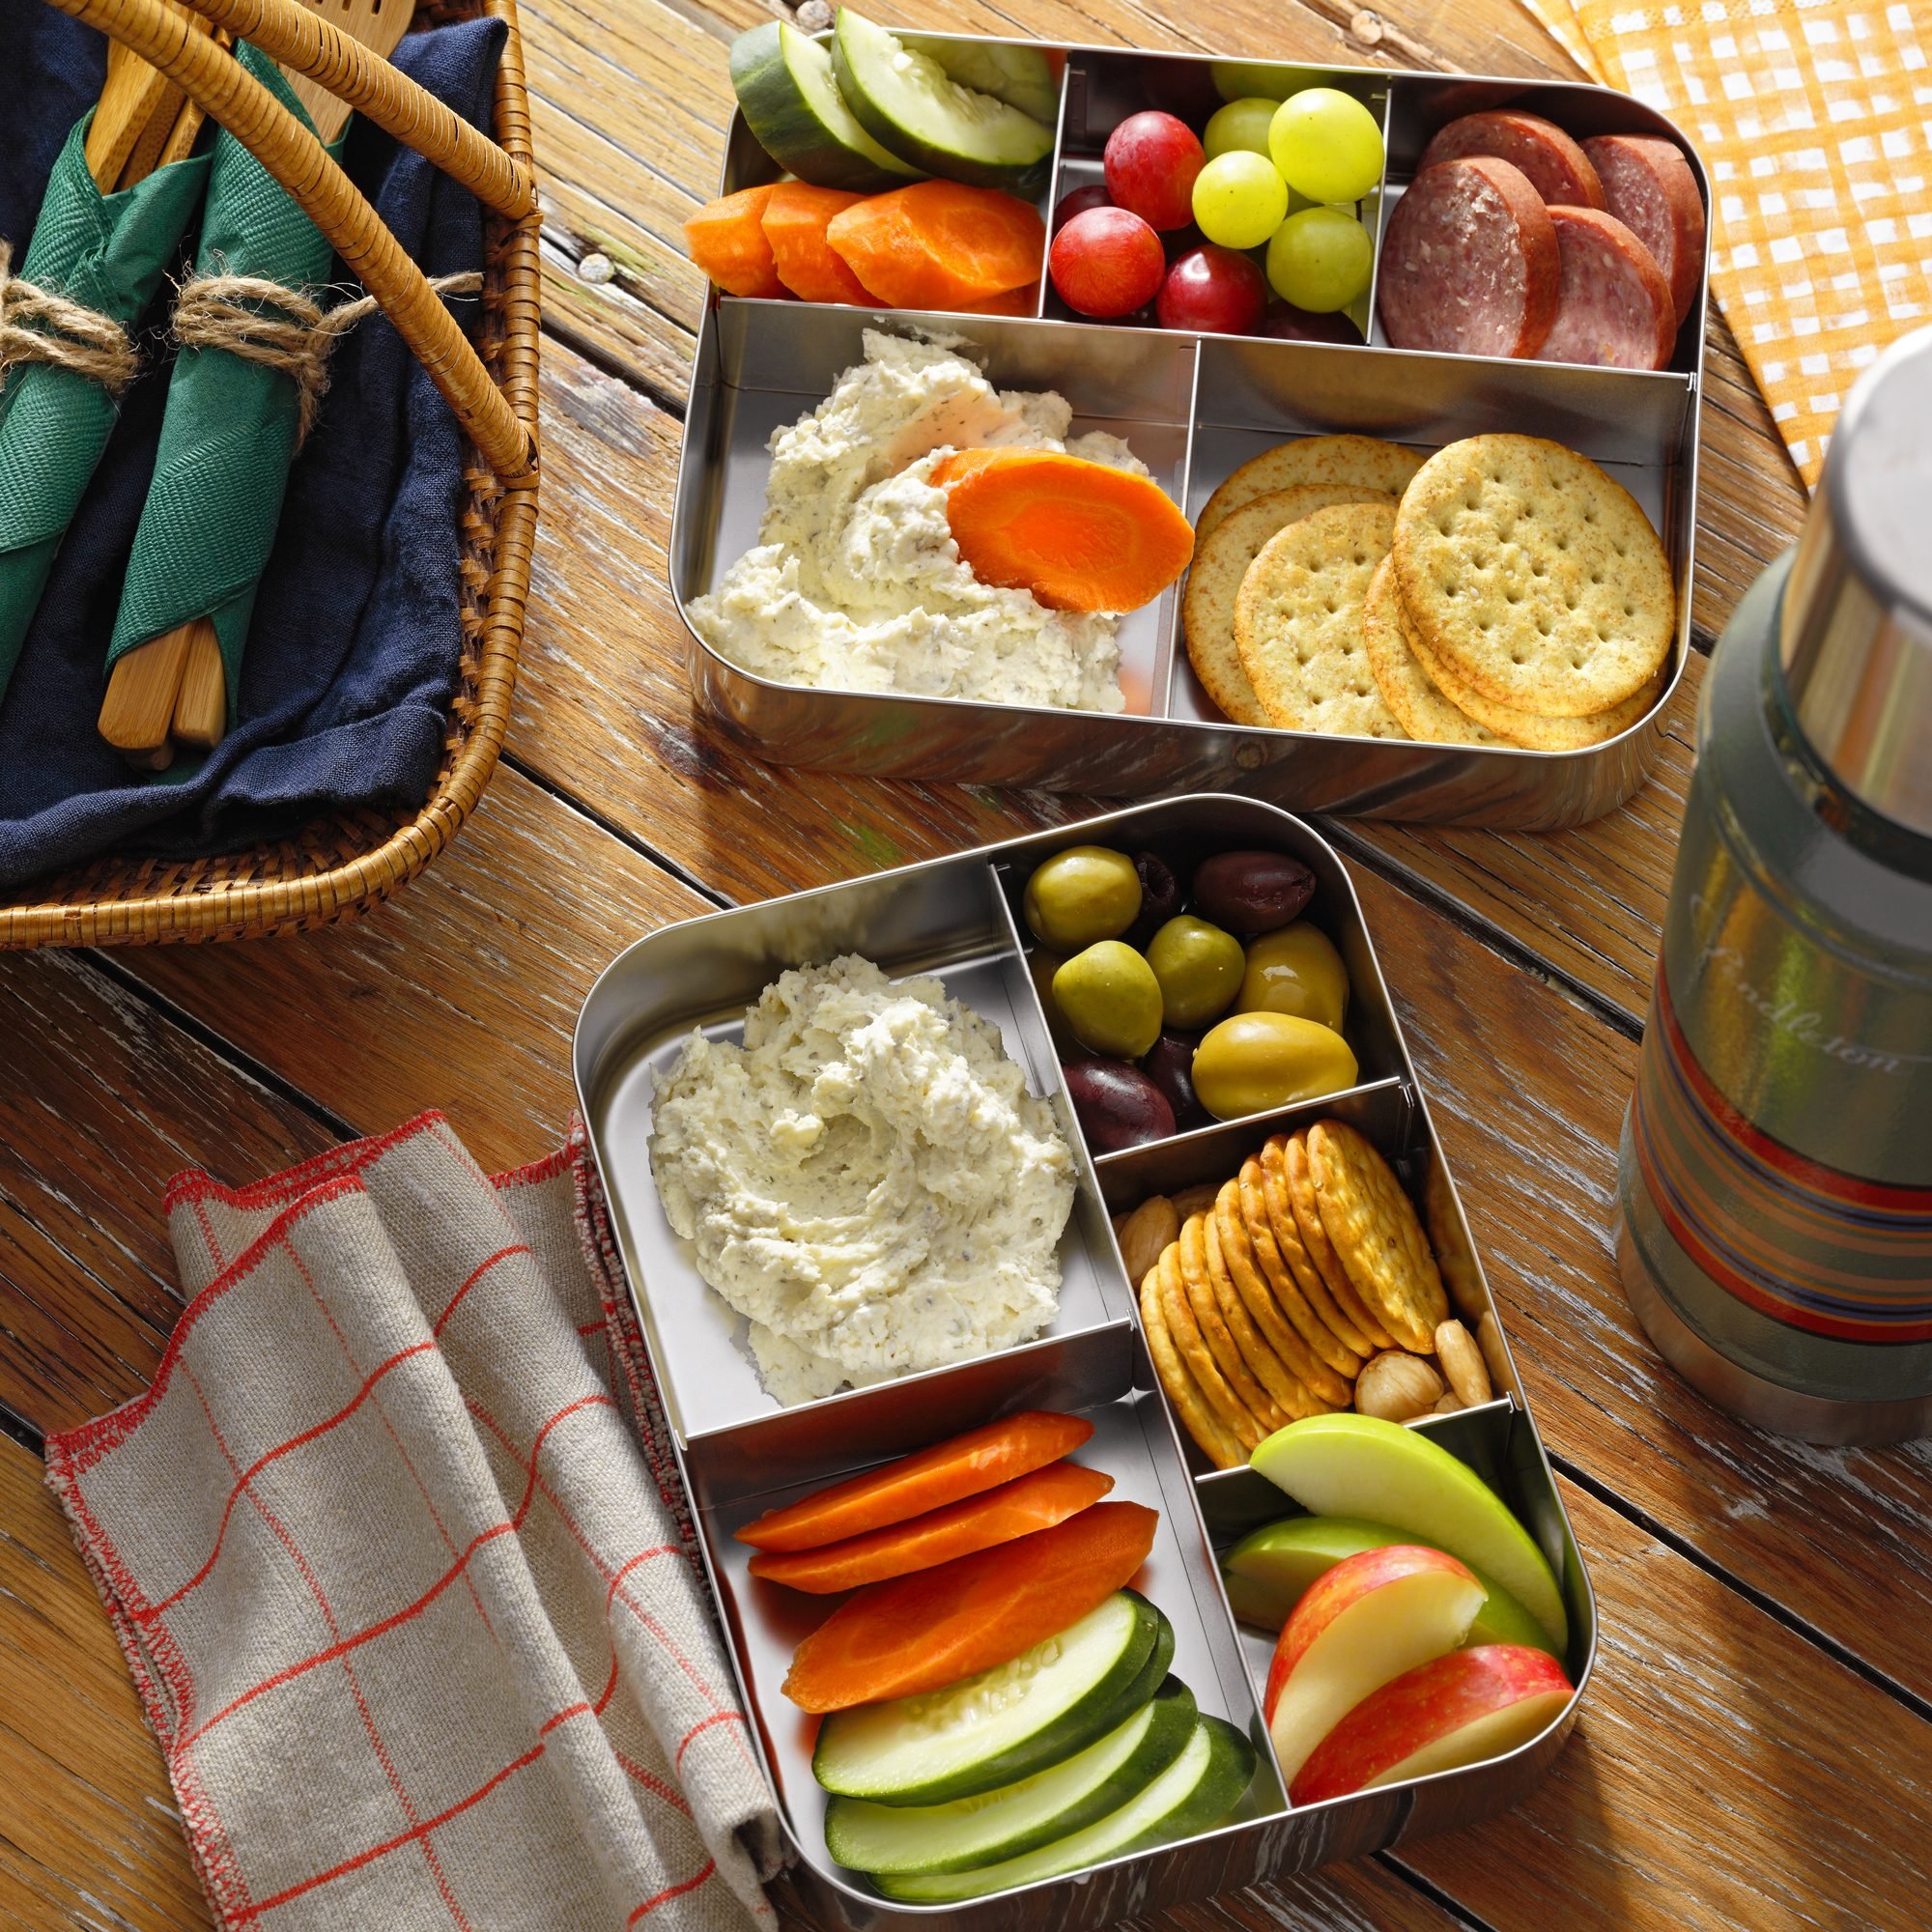
Use small, individual vessels such as bento boxes, a small plate or a mini cutting board. If you can’t find a small, rectangular option but do have jars on hand, consider jarcuterie instead.
Step 2: Place your cheese
Start by placing your cheeses, whether cut into cubes or wedges, on your board. This will serve as a focal point. Also check out our cheese board pairings to take your spread to the next level for more inspiration.
Step 3: Add the meats
If you’re using salami or summer sausage, overlap the slices to form a line. Bunch up items like prosciutto.
Step 4: Add crackers or bread
Place the crackers or sliced bread around the meats and cheeses.
Step 5: Fill in the gaps
Use fruits, veggies, nuts, olives and other add-ons to fill in all the gaps. Smaller items spread throughout will make the board look more full. Don’t miss our cheese board ideas for building the best spread ever.
Tips for Making Individual Charcuterie Boards
Invest in mini Mason jars

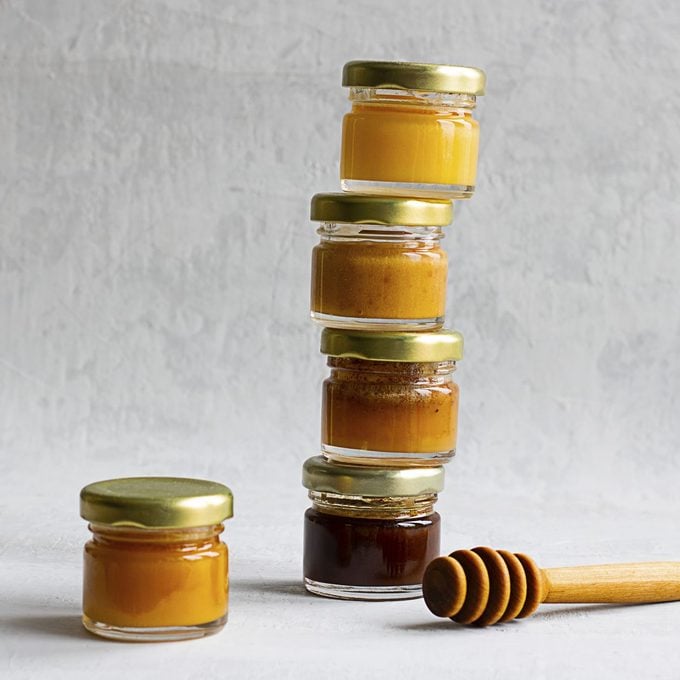
If you’re planning to incorporate jams, tapenades, homemade hummus or honey, keep them contained on your individual charcuterie boards. Use one of the slots in your bento box or search for tiny vessels to add them to the board.
Dress up the board
Use fresh or dried edible flowers or fresh herbs to decorate your board. Even just a sprig or two will add a pop of color and texture to enhance the look.
Make salami roses
By layering slices of cured meat around a glass, you can make a beautiful salami rose to serve as the focal point of your board.
Experiment with ingredients
There’s no need to stick with the traditional meat and cheese board if you don’t want to! Use this concept for other types of boards, including a vegetable dip board or even a dessert board. A mini s’mores board? Yes, please! Get creative with this sweet chocolate charcuterie board. Make sure to check out our favorite charcuterie board books to inspire your next soiree.


